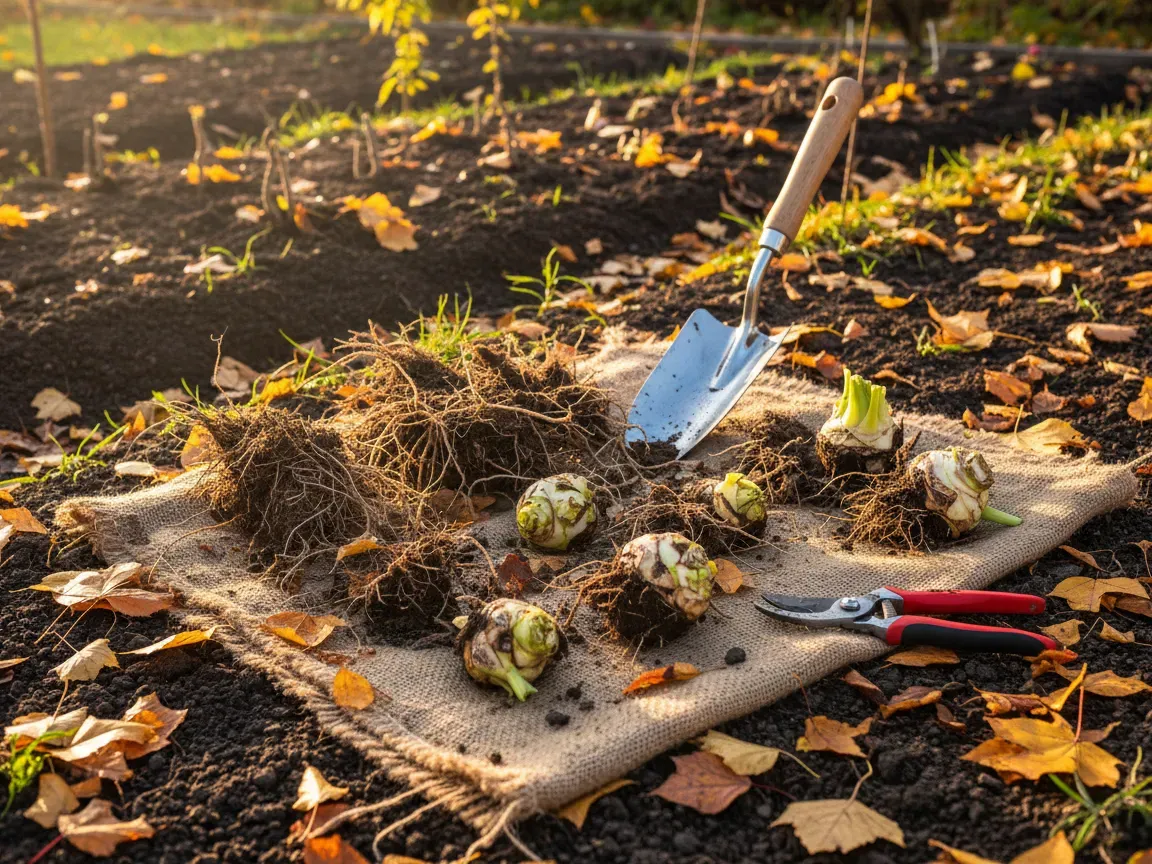
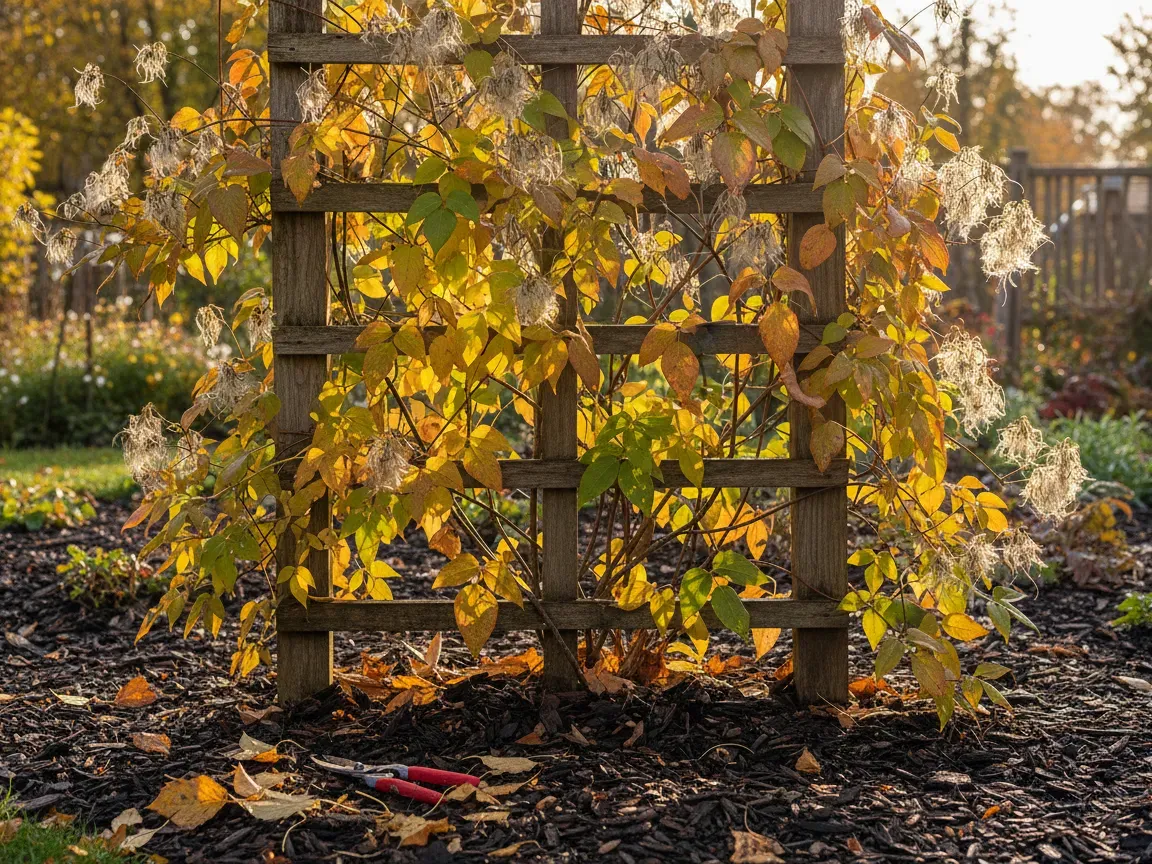
October is the transitional window when clematis vines quietly shift their energy underground. While top growth begins to fade, root systems remain active, taking advantage of cooling soil temperatures to store critical reserves for next season.
Taking an hour or two in mid-autumn to complete basic maintenance shields your vines from harsh freeze-thaw cycles and fungal pathogens. A few deliberate steps right now ensure strong root health and a spectacular floral display come spring.
Why Does October Clematis Care Matter for Spring Blooms?
Clematis plants produce some of the most vigorous vertical growth in the home garden, but their delicate stems and shallow root crowns make them uniquely vulnerable to winter stress. Harsh cold snaps, alternating freezing and thawing ground, and drying winds can severely damage neglected vines.
Autumn prep focuses on preservation rather than active growth. By fortifying the root zone and tidying up old growth in October, you eliminate pest habitats, stop disease spores from overwintering, and protect fragile flower buds that are already set for early spring varieties.
Identify Your Pruning Group Before Grabbing the Shears
The biggest mistake gardeners make in October is aggressive pruning across all clematis varieties. Cutting the wrong vine in the fall can remove an entire year of blossoms. Clematis vines are split into three distinct categories based on bloom time:
- Group 1 consists of early-flowering varieties such as Clematis montana and alpina. These bloom entirely on old wood grown during the previous season. Do not cut these back in October, or you will remove next spring’s flower buds. Only remove broken or dead stems.
- Group 2 includes large-flowered hybrids that bloom in late spring and early summer, often repeating in late summer. These set buds on both old and new wood. In October, limit maintenance to light structural thinning and removing damaged growth. Save major pruning for late winter.
- Group 3 encompasses late-blooming species like Clematis viticella, sweet autumn clematis, and herbaceous types. These flower strictly on new growth produced each spring. While they tolerate hard cutbacks, waiting until late winter or early spring before fresh shoots emerge is often safest, though you can tidy up overly tangled top growth now.
Knowing which group your plant belongs to ensures you only prune to protect structural integrity rather than unintentionally stripping future blooms.
Clear Diseased Foliage to Prevent Clematis Wilt
Fungal spores, including the organism responsible for clematis wilt, readily overwinter in decaying garden debris. Dropped leaves, shriveled seed heads, and yellowing stems lingering around the base of the plant create an ideal microclimate for pathogens to survive until spring.
Gently rake away all dropped foliage from beneath the trellis. Avoid composting foliage that shows dark spotting, sudden blackening, or powdery mildew, as backyard compost piles rarely reach temperatures high enough to neutralize persistent spores. Bag and dispose of this material in the trash to break the disease cycle entirely.
Deeply Water Vines Before the Ground Freezes
Dry soil freezes much faster and deeper than moist soil. When sub-freezing temperatures arrive, desiccating winds continue to pull moisture from exposed clematis stems while frozen ground prevents the roots from taking up replacement water.
Provide a slow, deep soaking once or twice throughout October if autumn rainfall has been sparse. Apply water directly to the soil line using a soaker hose or a watering can without wetting remaining foliage. Ensuring the root zone is thoroughly hydrated before the first sustained ground frost protects cellular structures and cushions the root ball against sudden temperature drops.
Insulate Vulnerable Root Zones With Organic Mulch
Clematis plants famously demand cool roots and warm foliage. In winter, this rule flips toward protection: the shallow crown must be shielded against temperature swings that cause the ground to heave, which can tear tender anchor roots.
Spread a 3 to 4 inch layer of organic material over the entire root zone, extending roughly two feet outward from the main stem. Excellent choices include:
- Well-rotted garden compost
- Shredded hardwood bark
- Chopped autumn leaves
Keep the mulch pulled back an inch or two from the main woody stems to allow air circulation and deter gnawing rodents. This protective blanket stabilizes underground temperatures through the coldest months.
Secure Loose Stems Against Strong Winter Winds
Autumn and winter gusts can easily detach clematis vines from their supports, snapping brittle stems and stripping bark. Because clematis climbs by wrapping delicate leaf petioles around trellises, dead vines dry out and lose their grip over time.
Inspect your trellises and ties before high winds arrive. Fasten loose, structural stems back to the support structure using soft garden twine, flexible plant ties, or strips of cloth. Avoid tight wire ties that can cut into stems as they sway. Securing these main canes prevents wind whip and protects the crown from being twisted loose at soil level.
What Steps Keep Potted Clematis Safe Until Spring?
Container-grown clematis face much harsher conditions than in-ground plants because their root balls lack the natural insulation of surrounding earth. Freezing air reaches the roots from all sides, placing them at severe risk of winterkill.
Move containers against a sheltered exterior wall of your home, preferably out of direct wind paths. Wrap the outside of the pots with burlap, bubble wrap, or heavy frost blankets to insulate the root mass, and elevate containers on pot feet to ensure drainage holes remain clear during winter rains. For areas with extreme, sustained freezing, sinking the entire pot into an empty garden bed or moving it into an unheated garage provides the best defense.
Setting Up Next Season for Success
Investing a small amount of effort into your clematis during October directly dictates how fast the vine rebounds when temperatures climb. Clean soil lines, deeply hydrated root systems, and secure stems remove the environmental friction that typically delays early spring development.
Once these seasonal tasks are completed, the vine can enter dormancy naturally without burning precious energy reserves on winter survival. Come spring, you will be rewarded with sturdy, disease-free canes and an abundant flush of vibrant blooms across your garden structures.