
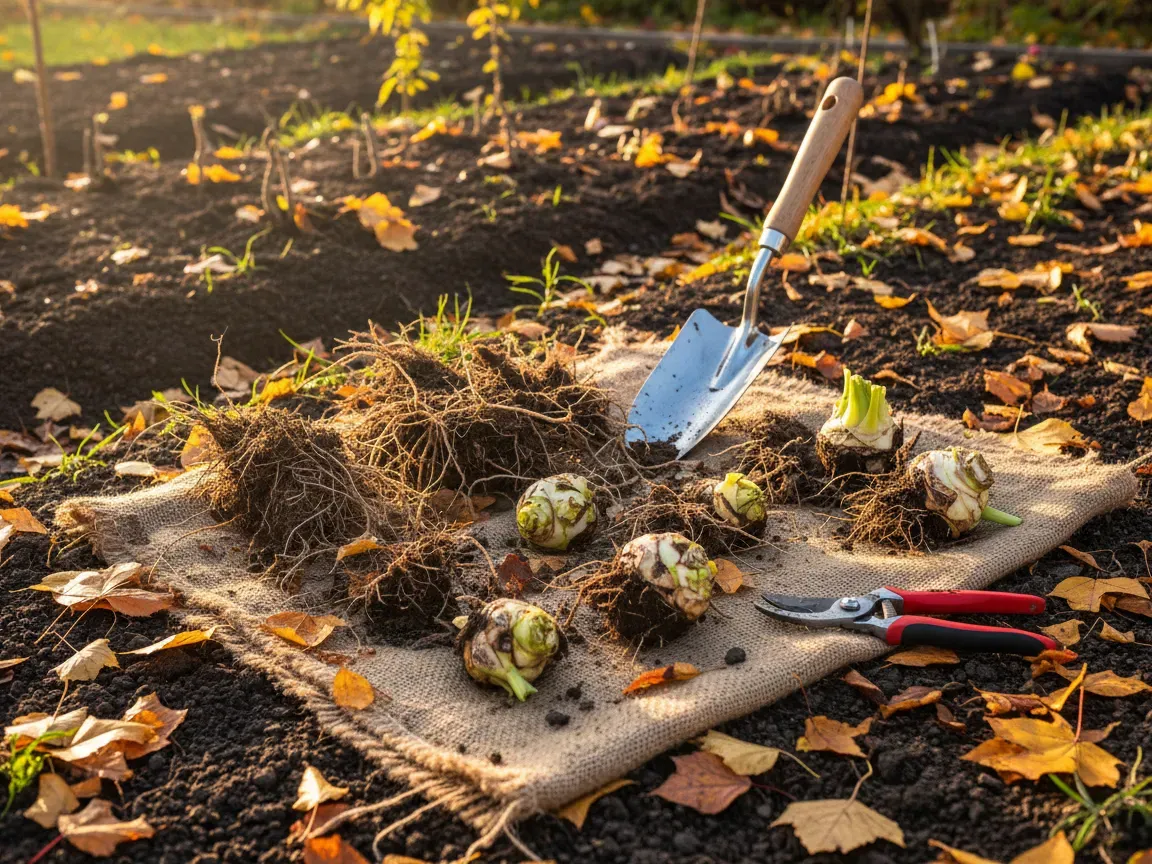
Dividing perennials in October is the easiest way to double your garden inventory without spending a dime at the nursery. Autumn offers the ideal weather window, giving root systems plenty of time to settle into cooling ground before freezing temperatures arrive.
Why October Is the Prime Month to Split Garden Perennials?
October brings a unique weather pattern that benefits plant physiology. The soil remains warm from months of summer heat, while the ambient air turns crisp and damp. This combination encourages plants to put their energy below ground into root production rather than above ground into leaves or flowers.
Overgrown clumps eventually lose vigor, choke out their own centers, and produce fewer blooms. Digging them up and splitting the crowns revitalizes aging rootstocks. It stops fungal issues caused by stagnant air between crowded stems and keeps your garden beds neat ahead of the winter season.
Essential Tools and Soil Preparation Tips for Autumn Propagation
You do not need a shed full of specialty gear to divide plants successfully, but clean tools make a big difference in preventing rot.
- A sturdy digging spade or garden fork with sharp edges to slice through compacted earth cleanly
- A hori-hori garden knife or pruning shears to separate entangled crowns
- A pair of heavy-duty gloves to protect your hands from coarse rhizomes
- Several buckets or a plastic tarp to keep exposed roots shaded and damp during the process
Before you start digging, prep the receiving beds. Work an inch or two of well-aged compost into the planting holes to improve moisture retention and drainage. Avoid heavy synthetic fertilizers at this stage, as tender new root growth can burn easily before winter dormancy.
Top 8 Perennials to Dig Up and Divide Right Now
Certain perennials handle fall disruption far better than others. Look for plants that finished blooming by late summer and feature durable root structures.
- Hostas: Known for tough, fleshy root masses, hostas can be sliced straight through the crown. Every section with a visible eye or shoot will form a healthy plant in spring.
- Daylilies: Dense root mats quickly choke out flowering stems after three or four years. Lifting and teasing apart tangled tubers restores their heavy flower production.
- Peonies: Fall is the only safe window to lift and separate peonies. Ensure each divided root section features three to five pink eyes before replanting them near the surface.
- Siberian Irises: The centers of these clumps tend to die out and turn woody. Cut away the dead core and replant the vigorous outer perimeter.
- Coneflowers: Echinacea benefits from splitting every three to four seasons. Separate clumps gently to keep the taproots intact.
- Black-eyed Susans: Rudbeckia spreads fast and forms thick crowns that pull apart readily by hand or with a small hand fork.
- Hardy Geraniums: Cranesbill varieties develop woody centers. Dig the entire clump and divide the fibrous outer shoots into compact clusters.
- Coral Bells: Heuchera stems turn bare and woody over time. Dividing crowns helps bury the exposed root stems deeper, protecting them from frost heave.
Step-by-Step Technique to Divide Dense Root Clumps Safely
Start by watering the soil thoroughly a day ahead of time so the root ball slides out easily. Cut back dying foliage to a few inches above the soil line to make the crown visible.
Insert your garden fork or spade around the drip line of the plant, angling inwards to avoid severing main roots. Lever the entire clump out of the ground onto a tarp.
Shake off excess soil to expose the individual crowns. For fibrous varieties like daylilies, you can pull sections apart using two back-to-back garden forks. For tough, solid crowns like hostas or peonies, use a sharp hori-hori knife or spade to make clean, deliberate cuts. Discard any rotted or dead center material, keeping the healthiest outer divisions for replanting.
Critical Post-Division Care to Protect New Transplants from Winter Frost
The primary threat to fall divisions is frost heave, where repeated freezing and thawing pushes shallow roots out of the soil. Plant your new clumps immediately at the exact same depth they were growing originally, firming the surrounding dirt gently to eliminate air pockets.
Water each division deeply right after planting to settle the soil around the fresh root tips. Once the first hard frost freezes the top layer of ground, spread a three-inch layer of straw, shredded leaves, or wood mulch over the area. This insulating blanket keeps soil temperatures stable and prevents early spring thaws from trickling in too soon.
How to Arrange Your New Clumps for a Fuller Spring Display?
Dividing provides plenty of free plant material to fix bare patches in mixed borders. Planting in drifts of three or five creates a natural, drifting look that draws the eye across the yard.
Mix your newly potted hostas and coral bells alongside spring bulbs like alliums or daffodils. As the bulb foliage dies back in late spring, the expanding perennial leaves will naturally conceal the faded stems, giving your garden seamless seasonal transitions.
Reaping the Rewards of Autumn Garden Division
Taking advantage of the brief October planting window delivers an immediate payoff when warm weather returns. Clumps split now skip the transplant shock common with spring planting, waking up with established root networks ready to support lush foliage and heavy blooming.
A single afternoon spent with a spade turns a handful of crowded specimens into dozens of healthy perennials. You save money, upgrade the overall vitality of your soil, and set the stage for an effortless garden expansion across every border.