Organic curves, softened corners, and arched geometry have taken over modern interior design. From sweeping drywall niches to organic floating millwork and minimalist circular mirrors, these architectural features break up rigid rectangular rooms and introduce calm, natural flow into living spaces. However, when homeowners attempt to highlight these sculptural elements with DIY accent lighting, they quickly discover that traditional lighting hardware refuses to cooperate with fluid geometry.
Adding continuous illumination along non-linear surfaces introduces unique mechanical and optical hurdles. Standard straight tracks warp or kink when bent, bare LED tape peels away under mechanical tension, and uneven surfaces create patchy, distracting hotspots. Achieving a showroom-quality glow along architectural curves requires a tailored approach to mounting hardware, diode selection, and discreet power routing. With the right techniques and materials, any DIY enthusiast can transform arches, circular vanity mirrors, and curved shelving into striking focal points.
Why curved surfaces need specialized lighting hardware?
Traditional LED installation typically relies on rigid aluminum channels. These aluminum extrusions excel along straight wall kickboards, linear under-cabinet runs, and square ceiling coves, where they act as structural supports and efficient heat sinks. Attempting to force a straight aluminum channel around a radius simply does not work. Rigid metal will crease, snap its finish, buckle the internal mounting track, and ruin the clip-in plastic diffuser.
Some DIYers try to bypass channels entirely by sticking flexible tape light directly onto curved plaster or wood. While modern adhesive backings adhere temporarily, this shortcut almost always leads to failure. LEDs generate heat that degrades standard adhesive over time, causing bare strips to sag and droop along ceiling arches or vertical curves. Furthermore, without an aluminum base to absorb thermal energy, diode lifespans drop significantly. To preserve durability and maintain uniform geometry, installing a dedicated flexible bendable LED profile along the path provides the structural backing, thermal dissipation, and lens retention necessary to curve gracefully without snapping.
Optical diffusion is another major reason specialized hardware is mandatory. Curves inherently shift how eyes perceive light because wall surfaces catch beams at varying angles. Bare diodes reflect as harsh, segmented pinpricks of light across rounded woodwork or glossy paint. A curved profile equipped with a malleable, frosted silicone or plastic diffuser blends those individual light points into an unbroken, smooth neon-like ribbon.
Best mounting techniques for architectural wall arches
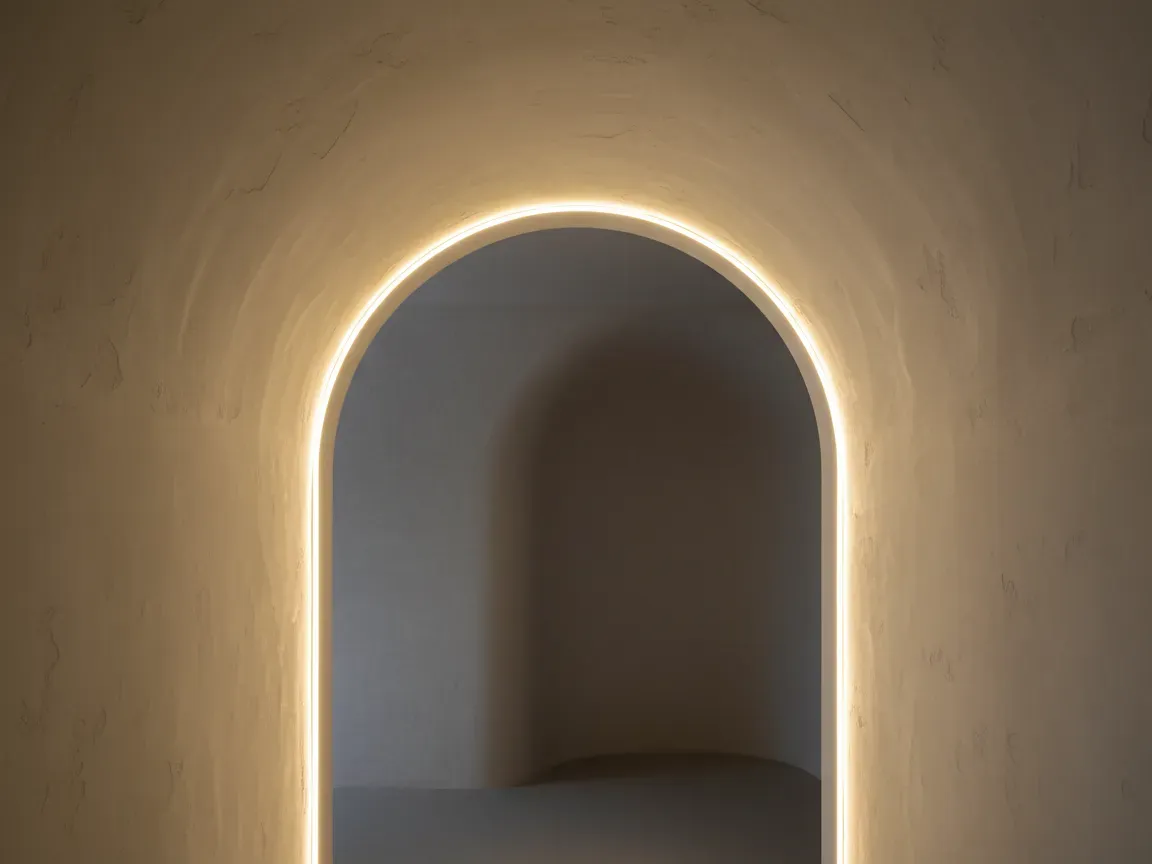
Architectural arches and arched niches add timeless elegance to hallways and living rooms, but their tight upper radius demands meticulous planning. The most refined look comes from concealing the illumination within a shallow reveal or recessed drywall lip, casting an indirect wash across the curved interior wall.
When working with existing drywall, you can install specialized bendable channels along the inside perimeter of the arch frame. If creating the arch from scratch, construct a small lip using flexible trim or curved plywood strips to shield the light source from direct line of sight. Securing the channel requires flexible mounting clips positioned closely together. While straight runs require clips every eighteen inches, tight arch radii require anchor points every four to six inches. These frequent attachment points prevent the channel from pulling away from the curve due to spring tension.
Always dry-fit your channel and diffuser before peeling any adhesive backings or mounting the strip. Gently curve the channel against the wall arch by hand, working gradually from the bottom vertical run up through the peak and back down to the opposite base. Fasten each clip with countersunk screws so the internal strip can lie completely flat inside the channel without riding over screw heads.
How to achieve seamless halo lighting behind round mirrors?
Round vanity mirrors and decorative circular glass panels produce an ethereal visual effect when backlit with a floating halo glow. Creating an uninterrupted circle of light requires careful spacing and strict attention to diode density.
To begin, construct an offset mounting ring on the back of the mirror. A circular wooden sub-frame or moisture-resistant MDF disc cut slightly smaller than the mirror diameter provides the ideal anchor surface. To ensure the halo projects evenly onto the wall behind, maintain a setback of approximately two to three inches from the mirror edge. Setting the LEDs too close to the perimeter exposes the hardware to oblique viewing angles, while placing them too far inward creates dim, muddy illumination that fails to feather outward cleanly.
For tight circular radiuses, traditional side-bending LED strips or dense COB (chip-on-board) tapes work best. Standard SMD strips bent sideways will snap copper traces and break solder joints. If using flexible channels, form them slowly around your offset frame, securing them with perimeter clips or neutral-cure silicone adhesive. When applying the strip inside the channel, avoid pulling or stretching the flexible printed circuit board, as internal micro-wiring can easily fracture. The resulting circular ribbon casts a balanced, soft wash outward across the wall, making the glass appear weightless.
Illuminating curved floating shelves without visible hotspots
Custom curved millwork, such as serpentine book displays and rounded display ledges, presents an optical challenge because shelves are viewed up close at eye level. Hotspots-glaring bright dots reflected on polished shelf surfaces-instantly betray poor installation.
To achieve invisible, gallery-grade illumination on curved wooden shelves:
- Rout a continuous shallow groove along the underside of the shelf, following the contour about one inch back from the front curved edge.
- Select a router bit that matches the precise width and depth of your bendable profile to achieve a flush, factory-finished appearance.
- Coat the raw wood channel with a primer or sealant to prevent natural wood oils from degrading mounting tapes.
- Press a bendable channel into the routed trench, securing it with construction adhesive designed for wood and aluminum bonding.
- Install continuous COB tape containing over 480 diodes per meter beneath a dense milky diffuser to eradicate all visible diode imaging on objects below.
Because curved shelves often support books, ceramics, or glass decor, choose a warm white light between 2700K and 3000K with a high Color Rendering Index (CRI 90+). This color balance accentuates rich natural wood grain and painted curves without casting harsh greenish undertones across nearby walls.
Wiring and power management tips for rounded DIY projects
Careful wire concealment separates amateur DIY experiments from seamless architectural features. While straight installations allow you to run wiring directly out of endcaps, curves complicate entry points because tight angles compress internal space.
Plan wire entry points at the least visible transition zones, such as behind the lower vertical trim of an arch, beneath the thickest section of a shelf bracket, or directly behind the center mount of a mirror. When routing wiring through drywall or framing, drill low-voltage feed holes angled downward to prevent wires from pinching tightly against sharp aluminum channel corners. Always use flexible stranded low-voltage wire rather than stiff solid-core conductors, as stranded wire bends effortlessly through compact access cavities.
Never crowd the power supply driver behind decorative trim or inside narrow wall voids. Drivers require ventilation to disperse heat safely and must remain accessible for maintenance. Place your 24-volt constant-voltage driver in an adjacent closet, vanity cabinet, or attic space, running appropriately gauged class-2 wiring to the fixture. Opting for 24V systems instead of 12V minimizes voltage drop over long runs, guaranteeing that the end of your arch or long shelf curve glows with the exact same brightness and color warmth as the start.
Key details that guarantee a professional curved glow
Fine details make or break the final aesthetic. Diffuser selection requires special attention. While transparent lenses protect diodes from dust, they offer zero diffusion and magnify hotspots. Always select frosted or opal covers that bend without whitening or cracking along the curve. When snapping diffusers into curved tracks, start from one end and roll the cover gently into place using light thumb pressure rather than pushing straight down, which can dent the channel.
Precision cutting also determines visual quality. Always cut flexible extrusions and diffusers together or dry-fitted to account for path length differences. Because the outer radius of a curve is longer than its inner radius, rigid lenses cut separately may end up slightly short, leaving an unsightly dark gap at the track ends. Leave a tiny fraction of an inch of extra length on plastic covers to allow for thermal expansion when lights run at full brightness.
Finally, integrate smooth dimming capabilities. Curved lighting creates dramatic ambient contrast, and being able to lower the intensity transforms bold architectural features into tranquil nightlights.
Bringing your fluid interior spaces to life
Embracing curved architecture does not mean you have to compromise on clean, built-in accent lighting. By trading rigid straight tracks for flexible profiles and opting for dense continuous LED strips, you eliminate visible hotspots, irregular shadows, and sagging tapes that plague rushed installations.
Careful planning around hidden wire paths, proper diffuser selection, and correctly spaced mounting clips transforms rounded walls, mirrors, and shelving into sophisticated design elements. Taking the time to execute these small technical steps guarantees that your DIY project will deliver a flawless, high-end glow for years to come.