
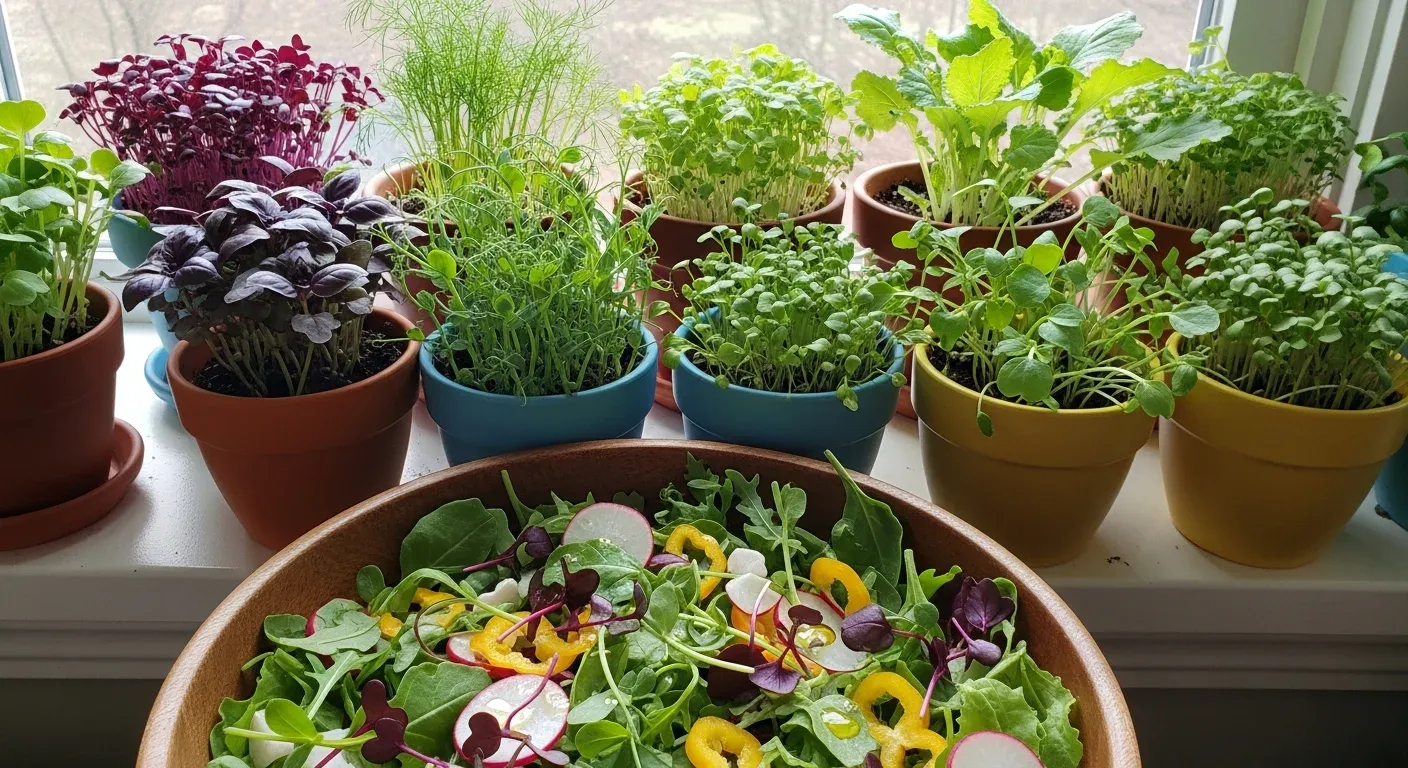
Picture this: you walk into your kitchen, reach for a tray on your windowsill, and cut a handful of tender, colorful microgreens—ready to toss straight into your salad. No matter the season, growing microgreens indoors is an easy and rewarding way to enjoy a burst of freshness in your meals, even in the smallest of spaces. Whether you’re new to gardening or already have a green thumb, you can create your own microgreen setup at home with just a few simple steps.
What Makes Microgreens Special?
Microgreens are the young shoots of vegetables and herbs, harvested just after the first true leaves appear—typically 7 to 21 days after planting. Unlike sprouts, which are eaten roots and all, microgreens are cut just above the soil, offering a crisp texture and intense flavor.
Many popular vegetables and herbs make excellent microgreens, each with its own unique taste and character. Radish brings a peppery kick and grows in no time, while sunflower microgreens are crunchy and nutty. Pea shoots are sweet and mild, great for beginners. Other favorites include broccoli, mustard, basil, and beet, each adding a splash of color and a distinct note to your dishes.
Microgreens deliver an impressive nutritional punch, often containing much higher levels of vitamins and antioxidants than mature greens. They’re especially rich in vitamin C, vitamin K, and beta-carotene, making them a smart, flavorful addition to any meal.
Why Microgreens Thrive Indoors—And Why You Should Try It
Indoor microgreen gardens mean you never have to wait for spring to enjoy fresh greens. Even in the dead of winter, you can harvest vibrant shoots just steps from your stove. Picking them moments before eating ensures unbeatable flavor and maximum nutrients.
For apartment dwellers and those short on space, microgreens are ideal—they need only a sunny ledge or a small shelf, and most varieties are ready to eat in under three weeks. If you love quick results and instant gardening satisfaction, microgreens are a perfect match.
If you’re just starting out, radish, sunflower, and pea shoots are some of the easiest and fastest to grow. Their large seeds are simple to handle, and they’re forgiving for beginners.
Setting Up Your Microgreen Station at Home
Containers and Trays: Simple Solutions for Small Spaces
You don’t need fancy gear to get started. Repurpose shallow containers like takeout trays or baking dishes, or pick up a dedicated microgreen tray. Look for trays about 1.5–2 inches deep with drainage holes to prevent soggy roots. Reusable plastic or bamboo trays are both eco-friendly and durable, so you can use them again and again.
Choosing a Growing Medium: Soil, Coir, or Hydroponics?
Microgreens need a stable, moist base to root and thrive. Organic potting mix is reliable and easy to find, while coconut coir offers a clean, sustainable option that holds moisture well. For an ultra-clean setup, consider hydroponic mats made of felt or hemp—just add water and seeds.
Light and Temperature: Giving Microgreens What They Love
Microgreens do best in bright, indirect sunlight—think a south-facing window, or a spot near a glass door. If your home doesn’t get much sun, a simple LED grow light will keep your greens happy. Aim for temperatures between 18–24°C (65–75°F), and steer clear of cold drafts or intense heat.
Planting, Growing, and Keeping Your Microgreens Healthy
Sowing Seeds: Tips for a Lush Tray
Sprinkle your seeds evenly and densely across the surface—crowding is encouraged here! For larger seeds like peas and sunflowers, soaking them in water for 6–12 hours before planting speeds up sprouting. Press the seeds gently into the growing medium, mist with water, and cover with a lid or plastic wrap until you see the first signs of life.
Watering and Humidity: The Right Balance
Microgreens love moisture but hate soggy feet. Mist the surface once or twice a day with a spray bottle to keep it evenly damp. As soon as the seeds sprout, remove any covering to prevent mold. Good air circulation is key—crack a window or use a small fan if the air feels stuffy.
Solving Common Problems: Healthy Greens Every Time
Too much moisture can lead to mold, so keep watering light and make sure there’s enough airflow. If your greens grow tall and spindly (leggy), increase the light or move them closer to your grow lamp. Pests are rare indoors, but keeping trays and surfaces clean helps prevent any unwelcome guests.
From Tray to Table: Harvesting and Enjoying Microgreens
When to Harvest and How to Cut
Microgreens are ready to pick once their first set of true leaves appears, typically 7–21 days after sowing. Snip the greens just above the soil line with sharp scissors for a clean, crisp harvest. Morning is the best time to cut, as the greens are at their most vibrant and fresh.
Keeping Greens Fresh: Storage Tips
After harvesting, gently pat your microgreens dry and store them unwashed in an airtight container in the fridge. Rinse just before using, and they’ll stay crisp for up to a week.
Creative Salad Combos with Microgreens
Microgreens take any salad up a notch with their bright colors and bold flavors. Try mixing pea shoots and radish microgreens with cherry tomatoes and feta for a classic twist. For something zesty, combine mustard microgreens with arugula, citrus, and toasted almonds. Or go hearty by pairing sunflower shoots with avocado and roasted seeds.
Growing Microgreens Year-Round: Pro Tips for Success
Never Run Out: Succession Planting
To enjoy a steady supply of microgreens, start a new tray every week or two. This way, you’ll always have fresh shoots ready to harvest, no matter the season.
Try New Varieties and Expand Your Setup
Once you’ve mastered the basics, branch out with new seeds like amaranth, beet, or basil. Expanding to more trays or adding tiered shelves can transform your windowsill into a mini indoor farm.
Learn More and Connect with Fellow Growers
Books like The Microgreens Handbook by Mark Mathew Braunstein offer in-depth tips, while online communities—like r/microgreens on Reddit or Facebook groups—are great for advice and inspiration. For seeds, choose reputable suppliers specializing in untreated, non-GMO options for the best results.
Bringing a tray of microgreens into your home means fresh, flavorful greens are always within arm’s reach. With just a bit of space and a little care, you can enjoy a year-round harvest that adds color, crunch, and nutrients to every meal. Gather your seeds, set up your trays, and discover just how easy—and delicious—growing microgreens indoors can be.