
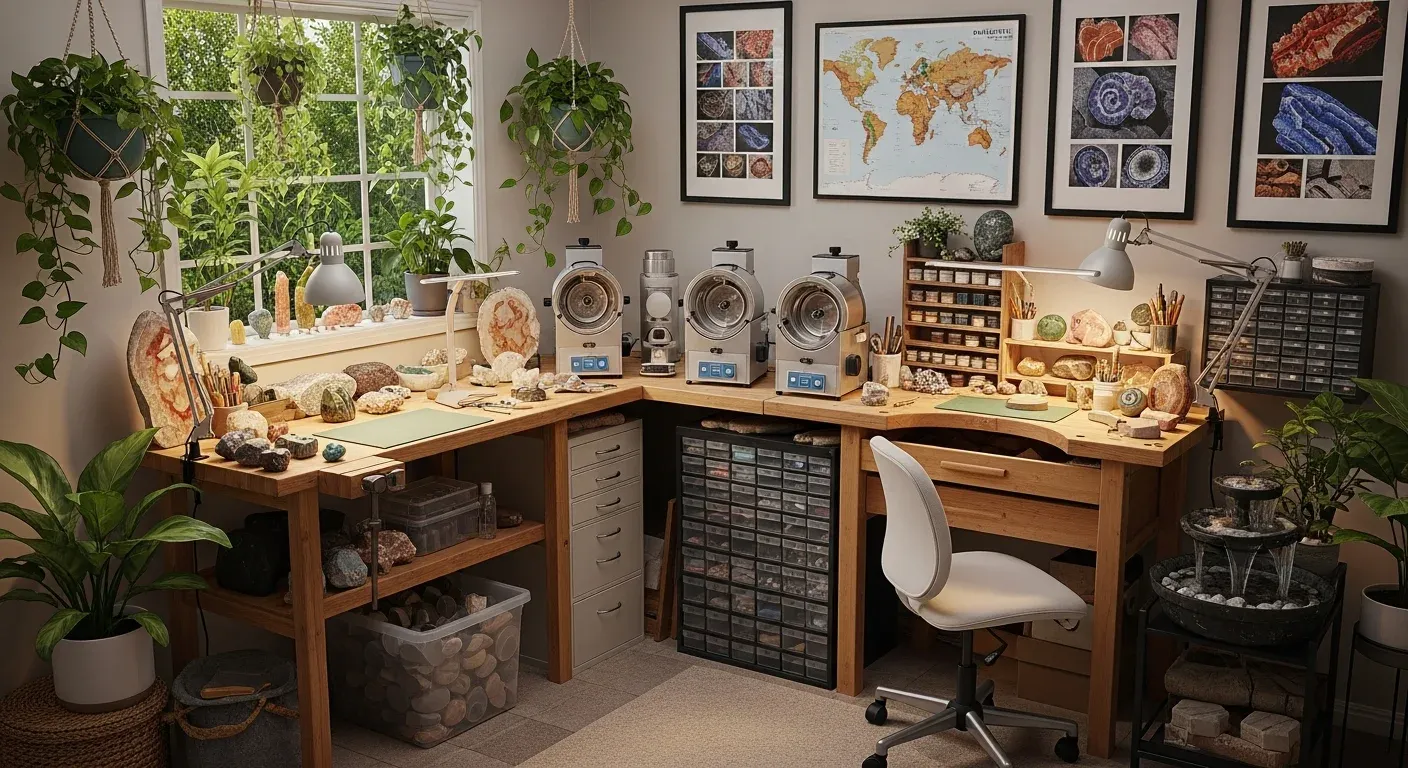
If you’re looking for a creative and relaxing way to connect with the natural world, rock tumbling might just be the perfect hobby. With a little patience and a few simple tools, you can turn rough, unremarkable stones into gleaming treasures that showcase nature’s hidden beauty. Rock tumbling combines hands-on creativity, meditative rhythm, and the thrill of discovery—all in one accessible pastime. Whether you want a solo activity to unwind or a fun project to share with family and friends, rock tumbling offers satisfaction at every stage.
What You Need to Get Started: Essential Tools and Materials
Before you start transforming rocks, you’ll need a few basic supplies. You don’t need a huge investment to begin—just the right tools and a little curiosity.
Choosing the Right Rock Tumbler
When it comes to selecting a tumbler, there are two main types to consider:
- Rotary tumblers slowly rotate a barrel filled with rocks, grit, and water. They’re great for beginners and excel at rounding and smoothing stones.
- Vibratory tumblers use rapid vibrations to polish rocks without changing their original shape. They work faster than rotary tumblers, but are better for final polishing than for initial shaping.
Grits, Polishes, and the Best Rocks for Beginners
You’ll progress through four main grits: coarse, medium, fine, and polish. Each stage uses a finer abrasive, gradually smoothing and shining your stones. For the final glossy finish, polishing compounds like aluminum oxide or cerium oxide are essential.
For your first projects, choose durable, non-porous stones such as quartz, jasper, or agate. These types are forgiving and consistently yield attractive results.
Handy Extras for a Smooth Experience
- Sieves make rinsing and separating rocks between stages much easier.
- Containers help you organize your grits and finished stones.
- Safety gear—like gloves and protective glasses—keeps you safe from sharp edges and dust.
The Tumbling Process: Step by Step from Rough Stones to Polished Gems
Preparing Your Rocks for Tumbling
Sort through your collection and set aside any rocks that are cracked or too soft. Wash each stone thoroughly to remove dirt, as even a little grit can scratch other rocks during tumbling.
The Four Essential Stages of Rock Tumbling
- Coarse Grind: Add your rocks, coarse grit, and water to the tumbler and run it for about a week. This stage smooths sharp edges and begins shaping the stones.
- Medium Grind: After a thorough rinse, repeat the process with medium grit for another week. This refines the shape and smooths out scratches left by the coarse grit.
- Fine Grind: Clean the barrel and rocks carefully, then tumble with fine grit for several days. This step pre-polishes the stones.
- Polishing: After another round of cleaning, use your polishing compound and tumble for up to a week. The stones will emerge with a beautiful, glassy shine.
Don’t Skimp on Cleaning Between Stages
Meticulous cleaning between each tumbling stage is crucial to prevent leftover grit from scratching your stones during polishing. Use plenty of water, sieves, and small brushes to ensure everything is spotless before moving on.
Troubleshooting: Common Issues and How to Fix Them
If you notice cloudy or scratched stones, the culprit is usually contamination from previous grit stages. Always clean thoroughly. Cracked rocks are often a sign you’ve started with stones that are too soft or flawed. And if your barrel leaks or jams, check the seals and avoid overfilling.
Practical Tips for Better Results and Safe Tumbling
Picking the Best Stones
Select rocks with similar hardness—ideally in the Mohs 6-7 range—to ensure even polishing and prevent damage. Avoid stones with visible cracks, holes, or soft spots.
Maintaining Your Equipment and Staying Safe
- Regularly check your tumbler for wear, leaks, or any unusual noises.
- Wear gloves and safety glasses whenever you handle grits or rocks to protect your hands and eyes.
Getting a Brilliant Shine Every Time
Fill the tumbler barrel about two-thirds full for the best tumbling action, and don’t rush the process—patience leads to the most stunning results. During the final polish, adding a handful of plastic pellets can cushion your stones and help them achieve that perfect glossy finish.
Creative Ways to Enjoy and Display Your Polished Stones
Now comes the best part—enjoying the fruits of your labor!
- Arrange your polished stones in glass jars, bowls, or terrariums for a natural decorative touch.
- Make unique jewelry, mosaics, or keychains using your favorite stones.
- Keep a few on your desk as worry stones, paperweights, or thoughtful gifts.
Taking Your Hobby Further: Sharing and Exploring New Techniques
Invite friends or family to join you, or connect with fellow enthusiasts to swap stones and ideas. Rock tumbling is a wonderful way to spark curiosity and connect with others who share your fascination for nature’s hidden gems.
Once you’ve mastered the basics, try experimenting with specialty polishes, rare rock varieties, or even fossil and mineral specimens. Joining a local rock club or online forum can open up a world of inspiration and advice.
The Lasting Rewards of Rock Tumbling
Rock tumbling is more than just a hobby—it’s an ongoing journey of discovery, patience, and creative satisfaction. With each batch of polished stones, you’ll uncover new surprises and deepen your appreciation for the natural world. So gather your materials, embrace a spirit of curiosity, and enjoy the peaceful, rewarding process of turning ordinary rocks into treasures.
For more tips and inspiration, explore online communities, visit local gem and mineral clubs, or stop by your nearest rock shop. Happy tumbling!